There’s almost nothing more rewarding than upgrading an automobile. One of the most popular ways to upgrade a vehicle is by completing a 350Z engine swap. Here’s how to LS swap your 350Z.
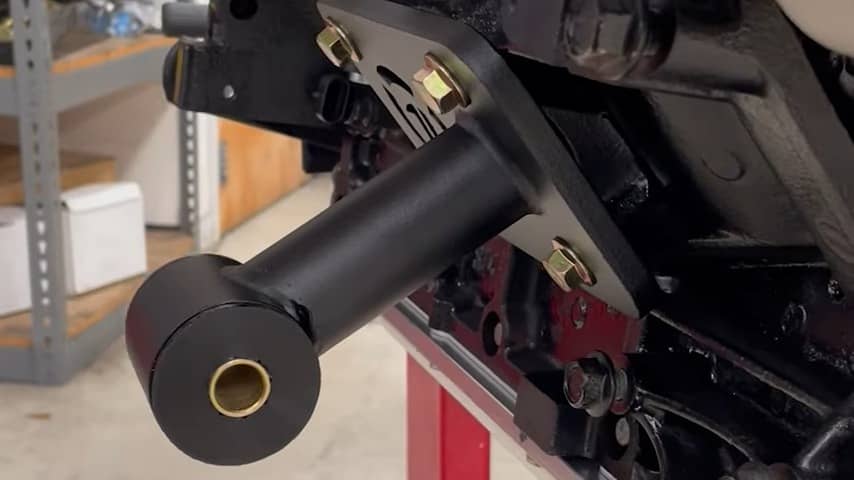
Take your engine mounts and install them on your engine block. Many engine points have an “L” or “R” to indicate what side of the engine to place them on. Make sure both the tubes of your mounts face the front of your engine.
You may need to trim your factory windage tray to clear this pickup. It’s now time to install your transmission adapter. This part will screw onto the back of your LS engine. Now, bolt your adapter plate onto the back of the LS engine, taking special care to ensure your plate is flush with the engine block.
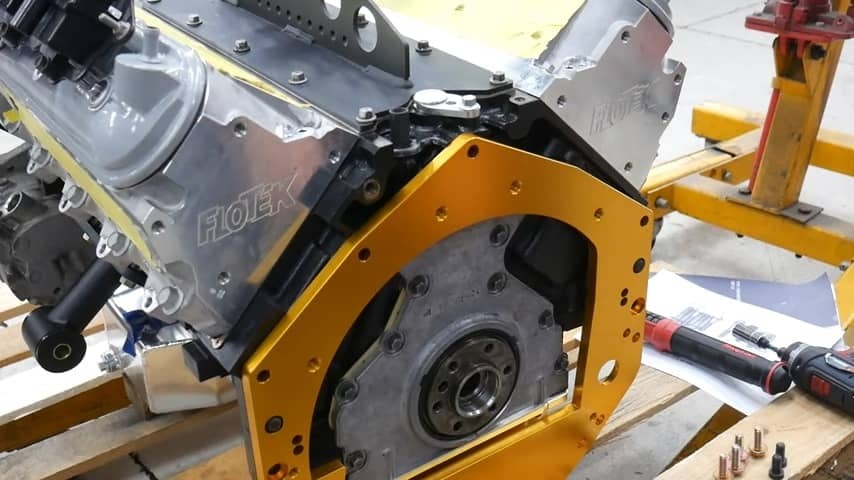
The next step needed to LS swap a 350Z involves installing your pilot bushing. Before installing the brushing, ensure you clean the bore of your crank. This cleaning helps provide a flush and snug fit. Then, bolt your support flywheel to the engine block’s rear.
After installation, torque the bolts of your flywheel to ensure a proper pressure level. Then, attach the clutch to the flywheel. With this step complete, spin the motor over. You want to ensure the motor spins freely and there is no unwanted conflict with your flywheel.
It’s beneficial to purchase a kit before starting a 350Z engine swap. That’s because kits contain parts that work together well with minimal adjustments. The parts in a kit also make it easy for every part to communicate with each other.
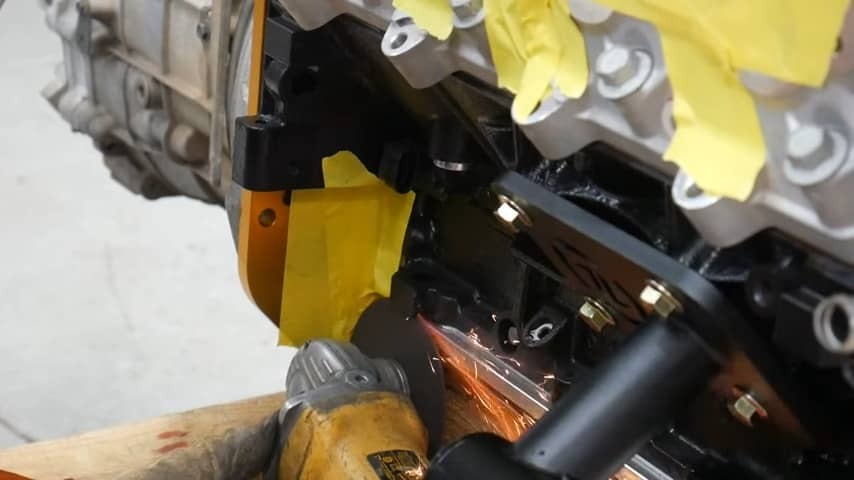
This step is fairly simple. However, as you might find while LS swapping a 350Z, some engine blocks (especially gen three blocks) will have a nub that will need to be partially and carefully cut away. Clearing this part ensures that your starter fits properly. With your block cleared, bolt the starter from the transmission. The bolts on the front of your plate will also need to be screwed and torqued to your bell housing.
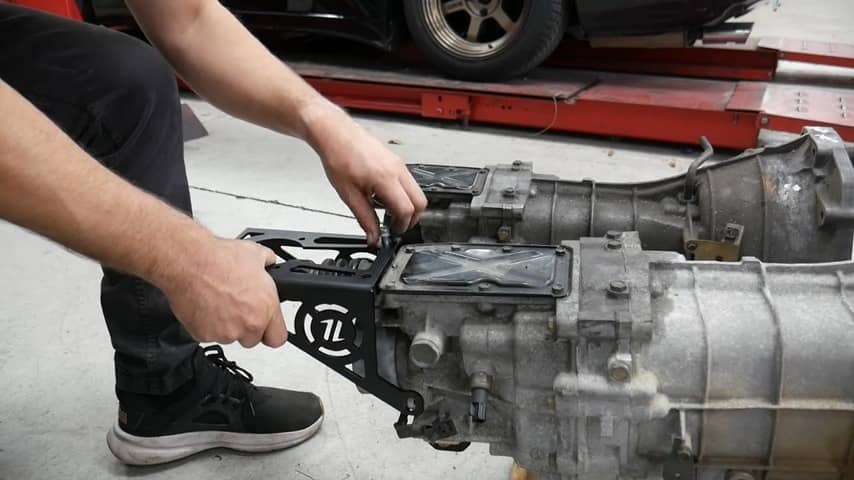
You’ll need to remove the back of your engine’s U-joint. Two pry bars typically work best. Then, attach both parts of your U-joint adapter and secure it. Some engines have varying height differences. If that’s the case, you will need to place spacers to even out these height differences. Then, place your shifter bracket carefully over your engine to avoid knocking the spacers loose.
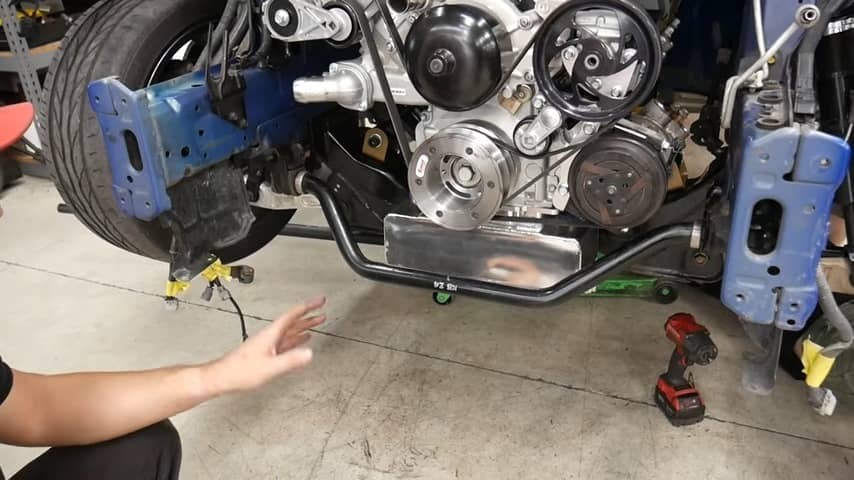
During this step of the LS swap to your 350Z, you’re now ready to place the motor back into your vehicle. We recommend slowly guiding your engine into the vehicle. This step is also a good time to replace your factory transmission bushing with the supplied new bushing. You’ll then place your new bolts through the openings under your transmission brackets.
Now, use measuring tape to ensure you evenly placed your engine properly. Then, tighten the engine mount bolts with an Allen wrench. Next, bolt your shifter into the shifter plate.
After lining up your headers, screw each side’s header into place on the engine block. With your headers properly installed, you can reattach your vehicle’s lower arm brace and its driveshaft. After this process is complete, you’ll want to fit and secure your vehicle’s original exhaust.
Note: We prefer removing the vehicle’s steering knuckle and lower arm brace before installing your headers during a 350Z engine swap. It’s not a must, but removing these parts now provides more space during the header installations.
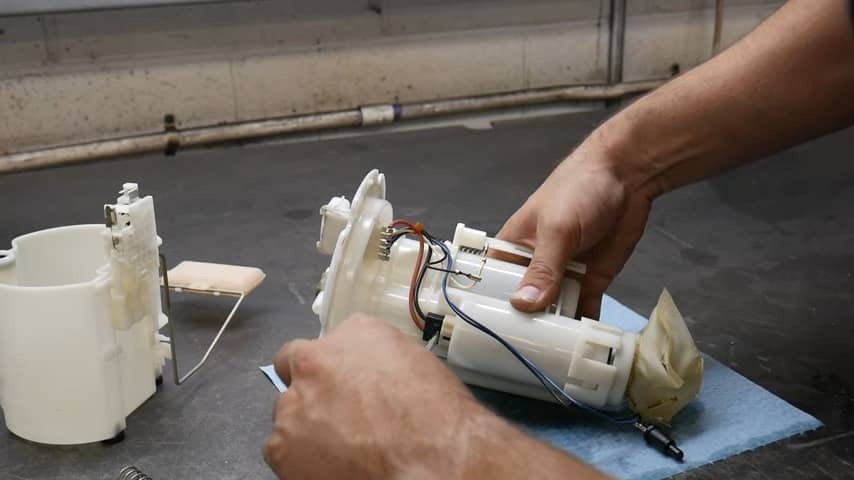
After removing the fuel pump from your car, you can work on the fuel return setup. Since this part helps to see visually, we recommend watching the portion of our 350Z LS swap video from 25:27 to 32:10 to see each step in this process.
Ensure that your new fuel return setup fits your fuel pump without any rubbing or friction. Then, reassemble your fuel pump and its springs. Next, safely place the fuel pump in its original housing. After that’s complete, reconnect your wiring. Then, add your fuel pump back into your vehicle.
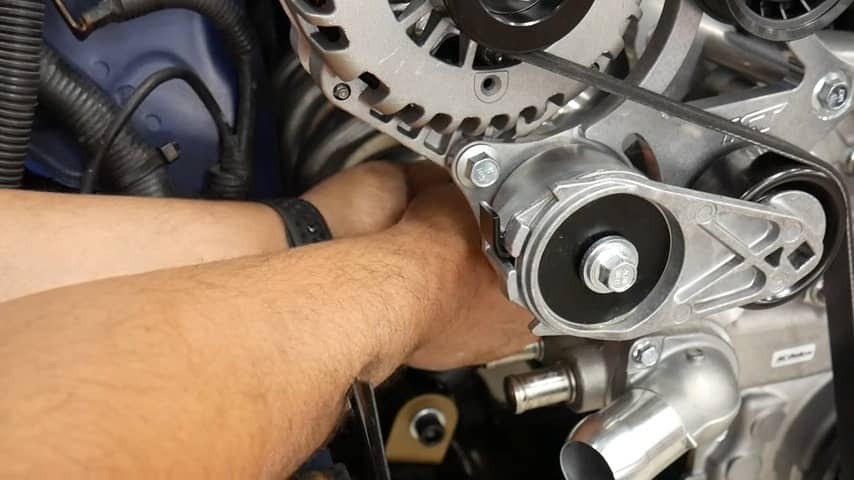
You’re now ready to complete the step of a 350Z LS swap involving reconnecting your wiring. Run the factory power cable from the battery to the starter. From the starter, connect and run your jumper cables to this vehicle’s alternator. Next, you’ll place your wiring harness on the engine and begin feeding each cable to its appropriate connections.
This is also the time to connect your lower radiator hose. However, you will need to cut off a few inches of a stock radiator hose for it to fit properly. Once you have a snug fit, you can re-secure the radiator hose to your vehicle.
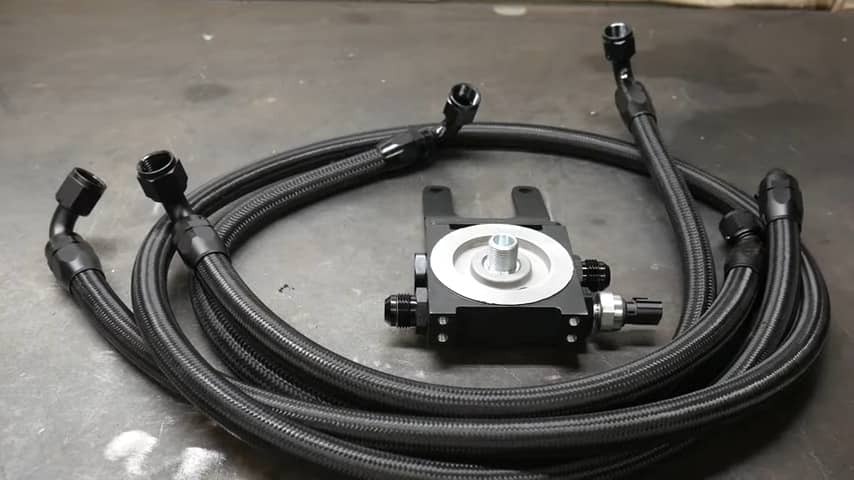
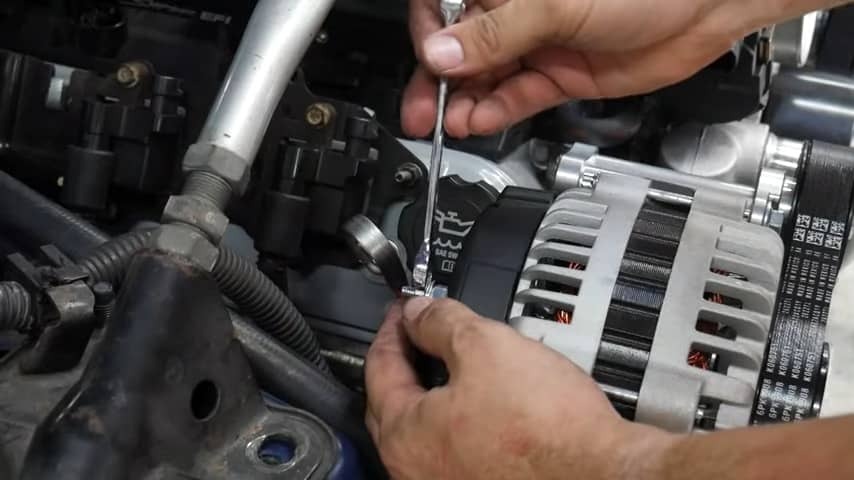
It’s now time to bolt your oil filter relocation bracket to your engine block. Run the feed line coming from your pump to the oil filter. Then, connect the port exiting your oil filter to your vehicle’s oil cooler. Run the cable from your filter housing to your oil cooler. Next, run the line from your oil cooler back to your engine.
With everything connected and installed, you’ll want to test-start your vehicle. This crucial step helps you ensure you’ve successfully completed your 350Z LS swap. With your vehicle in park, you can also slightly push down on the accelerator to hear how your newly installed engine sounds. It’s also advisable to run your vehicle through a dynamometer to ensure force, torque, and other important engine measures are in order.
Congratulations, you should now have completed a 350Z engine swap. If you’re getting ready to start or continue this project, find your swap kits, parts, and more at Enjuku Racing.